

Elementor blog template is one of the easiest things you can do. However, it sure looks a little bit complicated as there is no direct option for it. Sometimes, you might want to add a blog template to your website. This is the page where a specific post is shown. You might want to spice things up a little bit by having a proper blog template using Elementor. Well, you can surely design one of the best templates that can work directly with the template. This guide will cover the same thing.
Overview of Elementor blog template
Many people are looking to create a single-page blog template and some of the yu are planning to create a template for the blog page where all the posts are shown. Don’t worry, we will cover both of them here.
At first, we’ll talk about single page Elementor blog template.
Now, there are many things to keep in mind before you proceed here. There are few ways to create an Elementor blog template. We will see some of the best techniques here. So, we highly recommend you to stay in the blog and read the entire page before you make your decision. Many times, we want to have a new template for some blog posts.
Decide the Blog Template
The first step here you need to take is to design the blog template. You might have something in your mind before you start making the changes.
So, you need to create a demo blog post at first. We will use this to see how your template looks when it’s ready. So, you can write a blog post or you can even enter the dummy text with some pictures. Please note that you need to make it a bit lengthier.
Now, you need to have specific things in mind. Here are some of the top questions that you need to ask.
- What are the things that will display in the template?
- Where the title will be shown?
- Will there be an author box?
- Should I add share buttons in the post?
- Do you need a comment box on your page?
- Whether or not there will be a sidebar??
- What should be the background of the blog post template?
These are few questions that you need to ask and prepare a perfect blog post that you can use.
If you can’t remember all of them, don’t worry, we will see about it as we go. The main aim of this section is to have a rough idea of the Elementor blog template in your mind. This is how you can create a perfect blog template. If you already have an idea, it will be easier for you to create a template that works with every page.
Creating an Elementor Blog Template
Now, we will start with the tutorial and see the actual steps. Make sure that you have Elementor installed and is activated at the moment. Please note that you will need the Pro plugin here. The free Element won’t be enough to create an Elementor blog template. You will have to pay for Elementor pro. So, you can have the pro addons.
Once the plugin is activated, we will open Elementor from the WordPress dashboard.
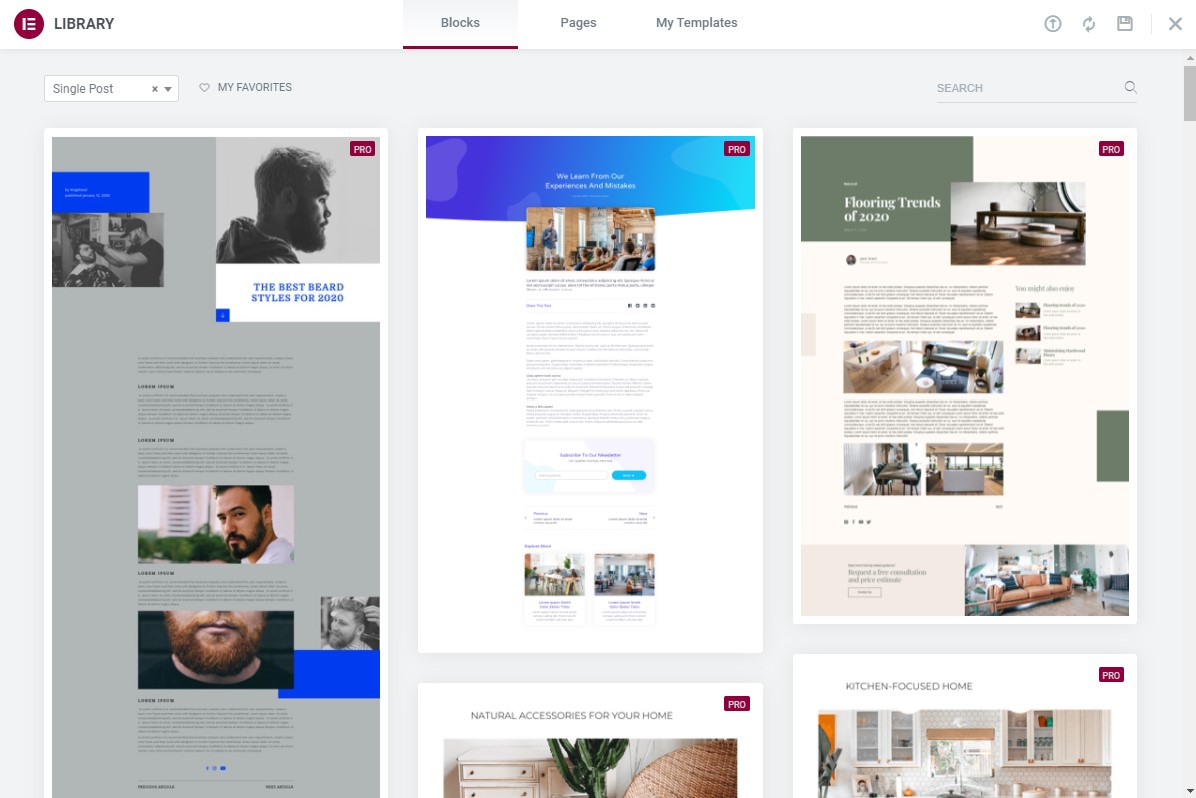
Now, simply head over to Elementor, and then you can open Template from the Elementor. It will show a bunch of templates if you have created them.
We will create a new template. It will then ask you which type of template you want to create. You will have to select “Single” here. The single represents that we are creating a blog template for a single page. So, we will select a single and then name it anything we want.
You can then change the layout of the page as per your wish. In most cases, the default template without a sidebar will be the perfect option here as we don’t want to add the sidebar in our blog. You can select any of them as per your wish.

Setting up the Preview
Now, when you create the template, it will be hard for you to know whether it looks good or not, right? So, we will do a few tweaks to the preview settings.
Come to the bottom of the left panel where you are making the changes. You will see an eye icon. This is the preview icon. You will have to click on it and then select settings.
It will then as you to select the source. You can select the post in the “Preview dynamic content as” field. Below it, you will have to search for the blog post that you want to display. We already asked you to have one blog post ready, right? You can add it here.
Now, whenever you hit the preview button, it will show you this post. You can then determine what are the change needed.
We will now start creating the Elementor blog template.
Creating the Title (Header)
Once you have the template ready, we will start with the title of the blog post.
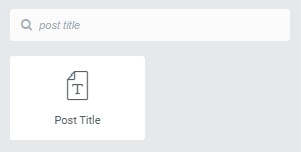
For that, we will create a new section that only has a single column. Thereafter, we will find “Post Title” from the widget.
Once you find it, you can drag and drop it in the section.
It’s the same widget just like other ones. So, you can do all the settings here. You can start changing the style, position, color, etc.
From the layout section, you can select whether it will be a boxed section or you want it in full width. You can select the one that you want here. You can also height, column gap, etc from the layout section.
Here, we will align it to the center from the “Style” tab in the left panel. This will make the title in between.
Now, many people also want to add the author name, number of comments, etc.
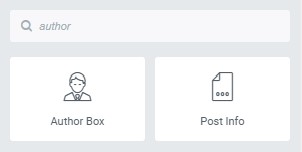
You can add the author name by adding the “Author Box” widget. The author box will have all the information that you will need. If you want to show the post date and other things, you can find the “Post Meta” widget and drag it into the section.
It’s recommended that you can add a new section and then add the author box and post metadata.
The transition from Header to Body
After the title, you can’t directly start the body part. There should be a proper indication for that.
So, you can create a new section and then add the transition.
Here, most people will use “Spacer” or “Divider” to tell users about the transition. You can add any of these.
We recommend you add a divider instead of the spacer. There are many ways you can display a divider. You can either display a full line or you can also display a small line. Of course, the line can be changed as per your wish (such as dotted line, dark line, etc). You can also add a three-column section and add divider lines in the first and the last column. In the middle, you can add the author box.
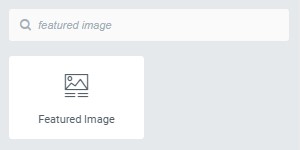
Thereafter, people often want to show the featured image. Some people want the blog post to show the featured image whereas some people prefer not showing it. Here, as we are creating a complete Elementor blog template, we will surely see how you can add it.
You can look for the “Featured image” widget and add it. That’s pretty much it. Thereafter, you can begin with the body template where we will make the rest of the changes.
Elementor Blog Template Body
Adding the body of the blog is one of the easiest parts that you can do. Most people stress a lot when it comes to the body. However, the body part is the easiest part that you can do.
You will understand this as we see here.
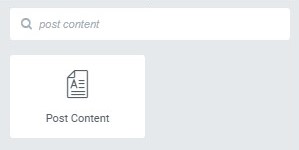
All you have to do is find “post content” in the widget panel. Once you find it, you can drop it in the desired section.
Hit the preview button and you will start seeing the complete blog post. As have already added a demo post in the preview setting, you will see that same blog post here.
People often change the typography in the blog post to make it cooler. However, it’s highly recommended that you don’t do it. The default font is the perfect font that can be used here. If you try to change the font, the users might find it difficult to read the entire blog post. Therefore, they prefer to read it in the best font. Usually, the default font is the best one that you should be using.
You can keep it as it is.
Adding the Footer
After the blog post, there are certain things that you might want to add. This will include adding a comment section, author box (if you have not added it in the front), and many more things.
You can create a new section at the bottom. Again, it’s recommended that you add a divider and then start other things.
Here are few widget names that you can add. They are easy to configure. So, we won’t talk more about it.
- Author box
- Post Comments
- Share buttons
- Widget for related posts
- Banner or ads
Now, it’s highly recommended to add dividers wherever you need them. For instance, when you are starting comments, you need a divider or spacer. Readers should know that the blog section is now completed and the comments sections have now begun. It should be easy to understand.
Please note that depending on the template you have selected, the original footer will still be visible. So, don’t worry about that. Here, we have just created the ending of the blog post. Now, you can save the changes.
Saving the Changes
The last step will be to save the changes. You can simply save the changes and then it will ask you whether you want to add the conditions or not.
Here, you can add the conditions.
If you want to show the new Elementor blog template for all the posts, you can simply select Include all posts.
On the other hand, if you want to show it to specific categories or you want to exclude it from specific categories, you can do that too.
You can play around a little bit. Include will show the template whereas Exclude will replace the new template with the default one. So, if you exclude a category, it will show the default post template for all the posts in that category.
Creating a Blog Page Template
Like we have mentioned earlier, some people also want to create a template for the blog page. So, we will also see how you can create an Elementor blog template.
The first few steps are the same as the above one. You will have to create a page and then add all the fancy things there.
In the place where you want to show the blog posts, you will have to drag and drop the “Blog posts” widget there. It will then start displaying all the blog posts there. That’s pretty much it. You can change anything you want here.
Thereafter, you can publish the changes. It will still not show on the blog page. You will have to change it from the settings.
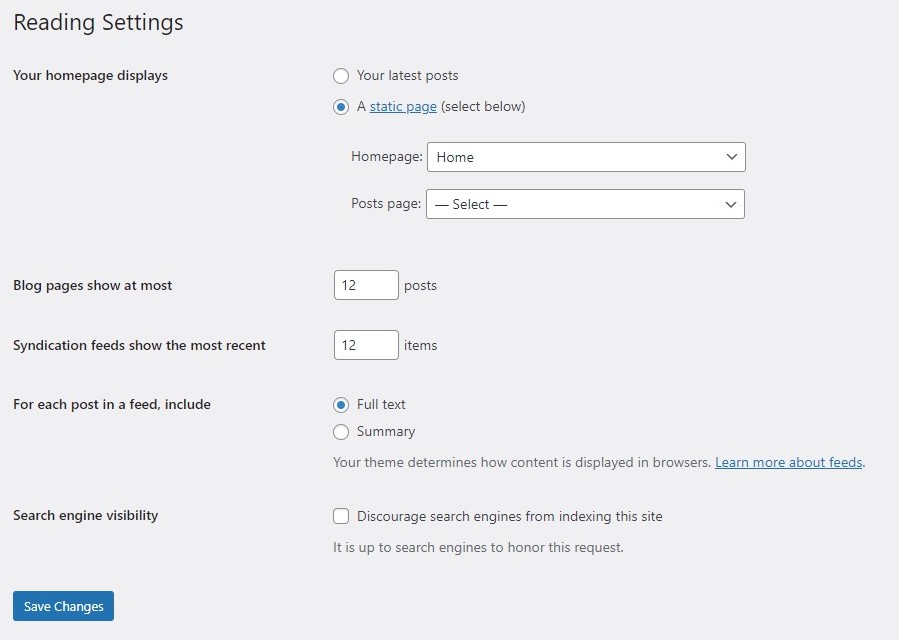
You can simply head over to Settings > Reading and then select “A static page” in the blog section. Now, you can select the page that we just created.
Save the changes and you will then have the page ready.
Final Words
To conclude, this was all about how you can create an Elementor blog template. The main thing that you need to keep in mind is the name of the widgets. People often forget that and that’s why it will consume a lot of time. You can also import one of the ready-made Elementor blog templates and start working on it. Elementor already has a lot of templates that you can use. Even importing will require Elementor pro. So, you will have to get Elementor Pro for the Elementor blog template.


