

If you are looking for better security for your website, you can surely go with the All-in-One WP Security & Firewall. It’s a plugin where you can add All-In-One WP Security & Firewall to your active plugin list and you will be all set to go. The guide will cover how you can get started with the plugin and how you can set it up. This will cover everything that you need to know about the plugin. By the end of the guide, you will have complete knowledge about all the things. So, let’s begin the guide.
Overview of All-In-One WP Security & Firewall
We will start with the basic overview of the plugin. The plugin is named All-In-One WP Security & Firewall. As the name says, it’s the best and the only plugin you will need to increase the security of the website.
There are various modules available in the plugin. You can use the firewall to protect yourself from all unwanted traffic. In the same way, you can surely use the malware scanner to ensure that you are safe from all the infected files.
The plugin has some of the unique features where you can fix the .htaccess file and get what you are looking for. The .htaccess file is where you might be keeping your website vulnerable. Therefore, you will need to fix it.
In the same way, it includes database security. If someone gets into the database, they can get all the things from your website. They will get your password and all the information. Sensitive data will also be at risk. Therefore, you will have to make sure that your website’s database is secure enough. The plugin will do it for you and you can focus on the rest of the things that matter.
Further, it has file system security where you can secure your files. Files are where you will see the infected code. If you see the infected code on your website, you can fix that with the help of the plugin. The infected code is the root origin of all the malware and the attackers might get into the files from the same thing. Therefore, if you secure your files, you will tighten up your website’s security. The plugin does the same work and will ensure that your website is secure.
Installing the Plugin
We will start with the most basic task and then we will carry on to the extra tasks. We will begin with how you can install the plugin. The installation part of the plugin is easy and you can surely do that with ease.
All you have to do is open the WordPress directory where you will see various menus. Inside the menus, you will see one of the menus named plugins. This is where you will have to do all the processes. At first, you will have to open the plugins menu.
Inside the plugins menu, you can open “Add new plugin”. This is the place from where you can add all the plugins. You can also add All-In-One WP Security & Firewall from here.
On the top right bar, you will see the search bar. Simply look for All-In-One WP Security & Firewall and you will find the plugin. You don’t even need to write the complete name. Even if you write All-In-One WP Security, you will get the plugin. Hit the install button and it will install All-In-One WP Security & Firewall.
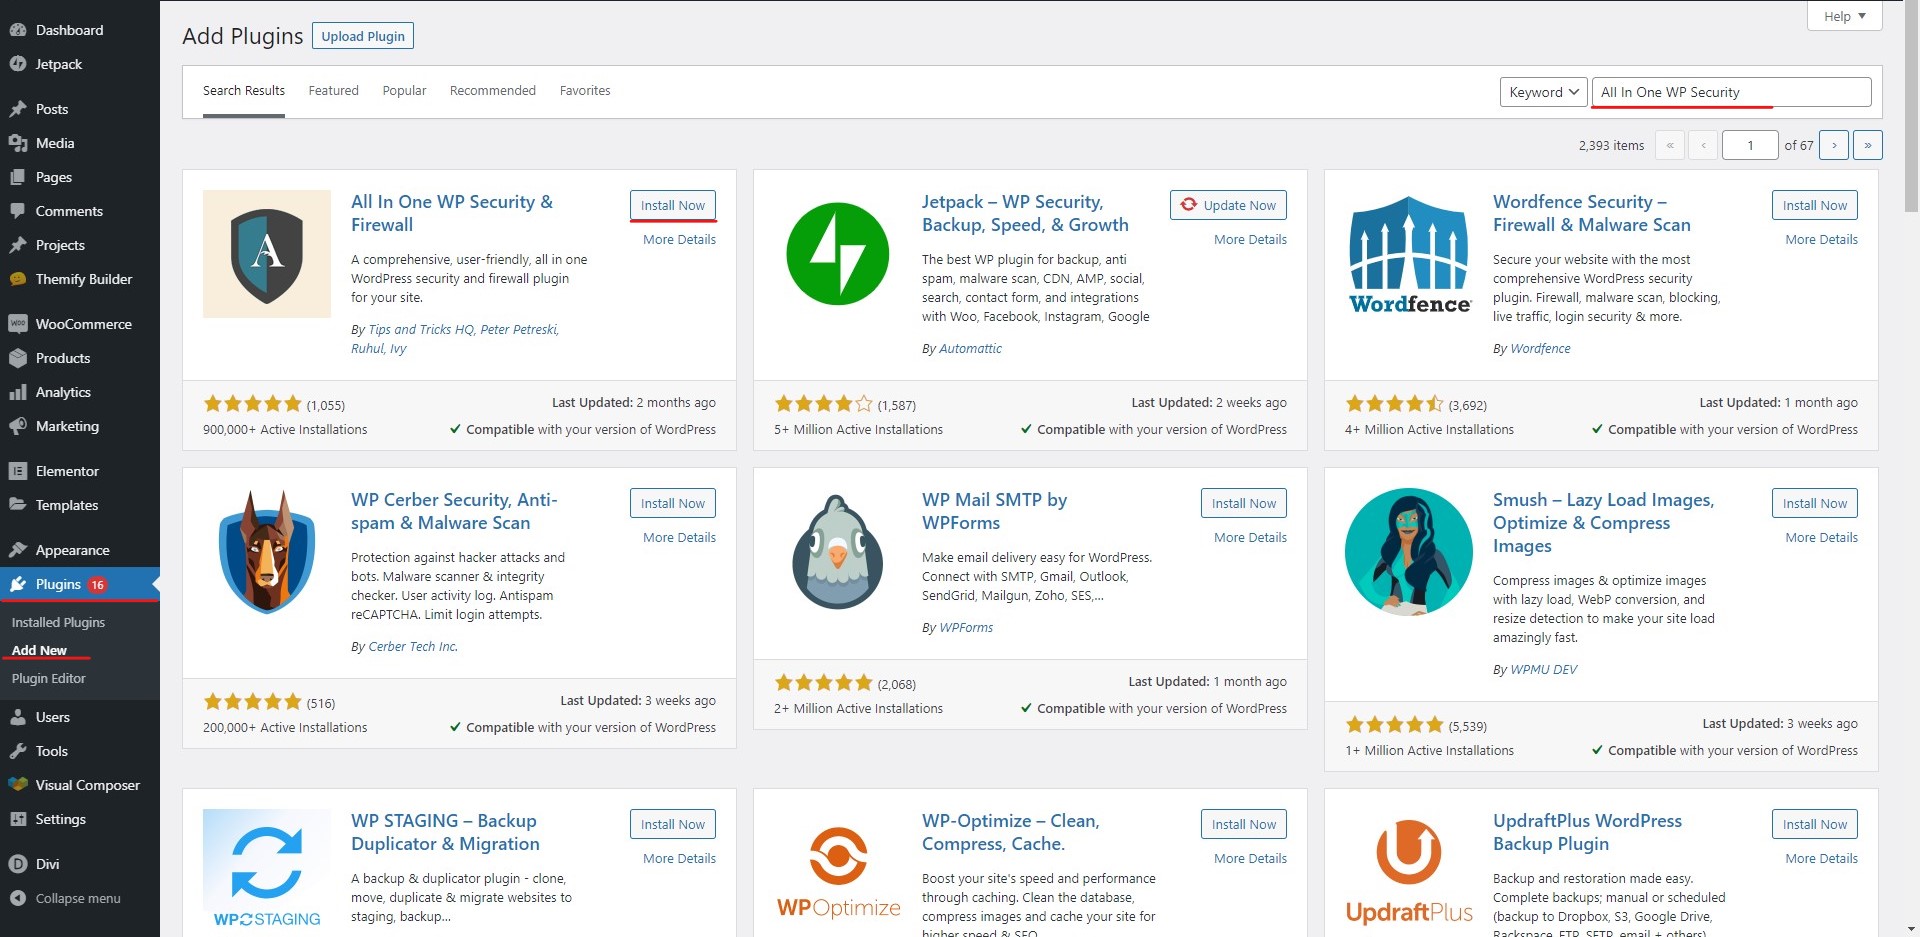
Now, you will see the activate button right next to it. Just click on activate. This is where you are using the plugin. Therefore, after installing the plugin, you will need to activate the plugin as well. When you activate the plugin, you will be redirected to the next page where you can set up the plugin.
This is where the real game started. You can customize or configure the plugin as per your need with the help of this plugin. We will see all of these things in the guide.
Dashboard
Unlike most of the plugins, here most of the things can only be accessed from the dashboard. Most of the security plugins will have the summary in the dashboard. However, here you will get complete access to the security plugin.
When you go to the WordPress dashboard, you can open WP security which will be in the menu. When you open WP Security, you will find all the options there. Now, this is the place where you will see a quick summary of everything as well as you can access all the things from here.
We will see all the options in the dashboard tab one by one.
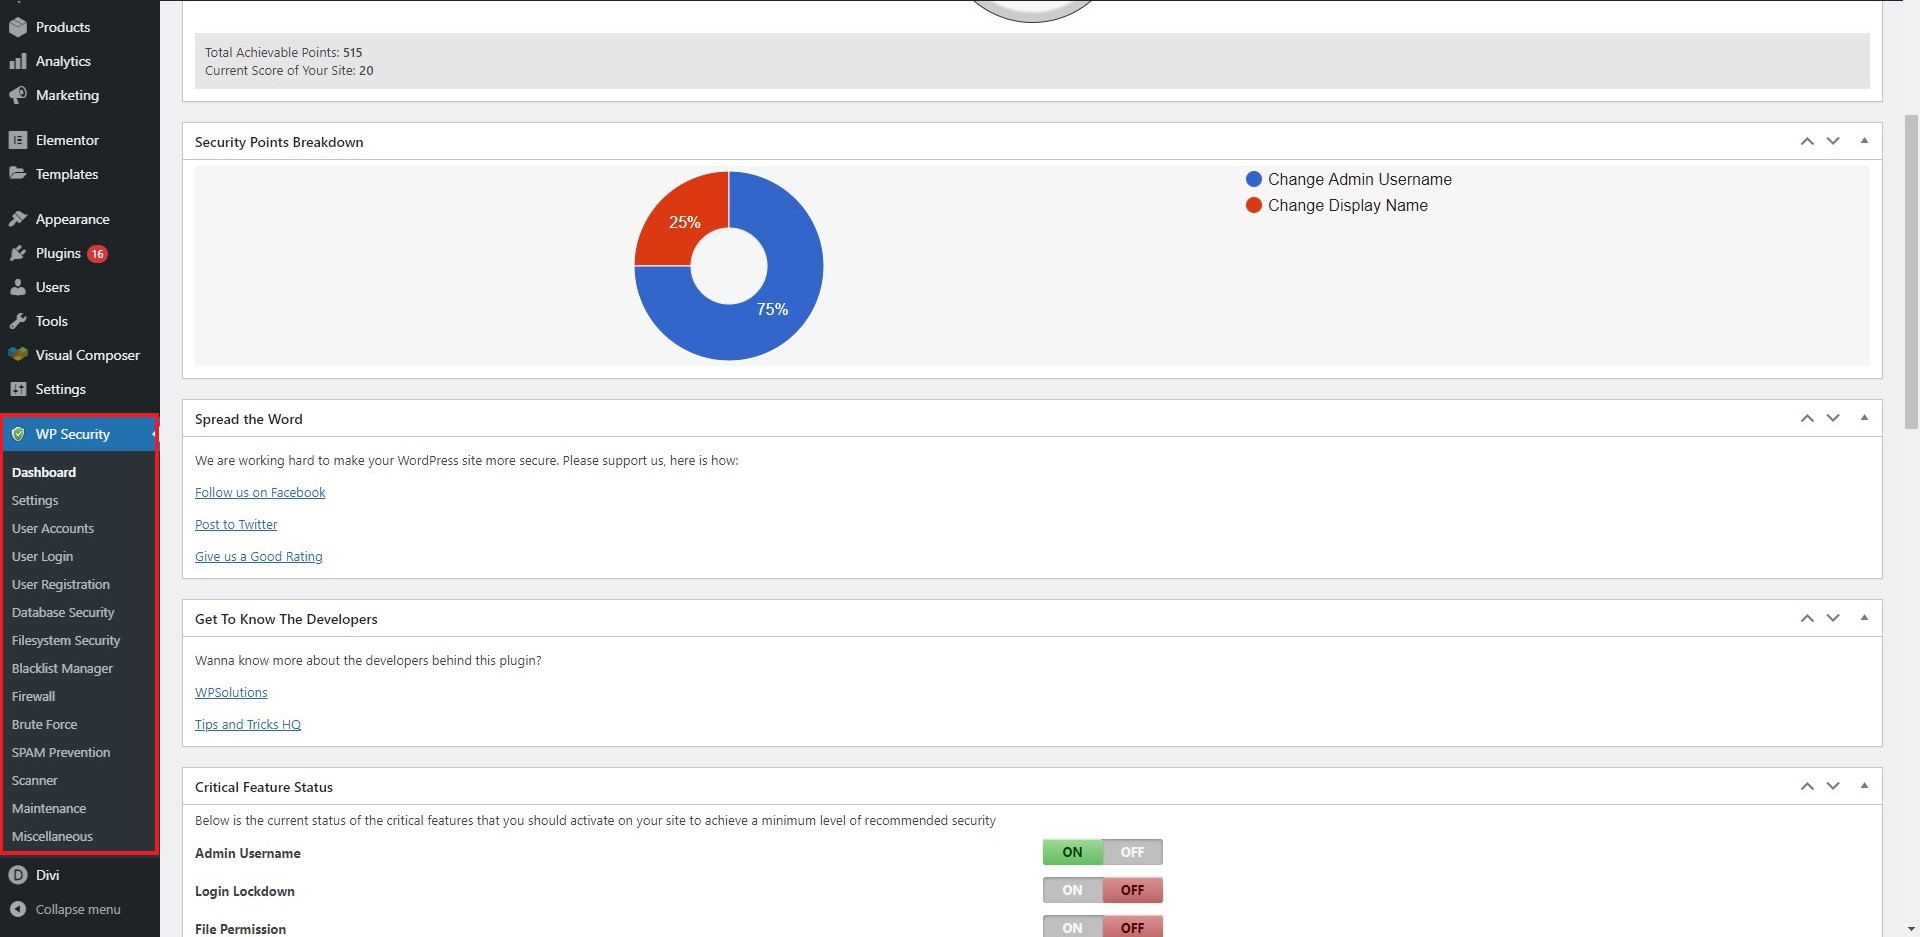
One of the things that you need to see in the dashboard is the security strength. The security strength is where you can see how to strengthen the website is. There is a meter that will tell you about the same thing. You can surely select the option from the rest of the cards. We will see the in-depth details about the same where we will see how you can set up the complete plugin. For that, we will see each of the cards one by one. So, get ready for this.
Critical Feature Status – All In One WP Security & Firewall
This is where you can turn on and off the feature. There are four main features that you will see here. The four features are as follows.
- Admin user name
- Login lockdown
- Fire permission
- Basic firewall

The admin username must be turned on as this will ensure that your admin user has the proper level of security. In the same way, you can check out the login lockdown. This is where you can stop the brute force attacks. It’s not important to turn on this. However, if you want advanced features, you can surely check them out.
In the same way, you can check out the file permissions and basic firewall. The file permissions are where the plugin will secure the file permission. If the permissions are not the same, you will end up in big trouble. What if anyone can access any folder and any file? You surely don’t want that, right?
Last but not the least, you can turn on the basic firewall and all In One WP Security & Firewall.
Users and IP
You can see the logged-in users. This is where you see the details of all the other users that are logged in to your website along with you. It won’t show your username as you’re already logged in. Instead, it will show you all the other ones.
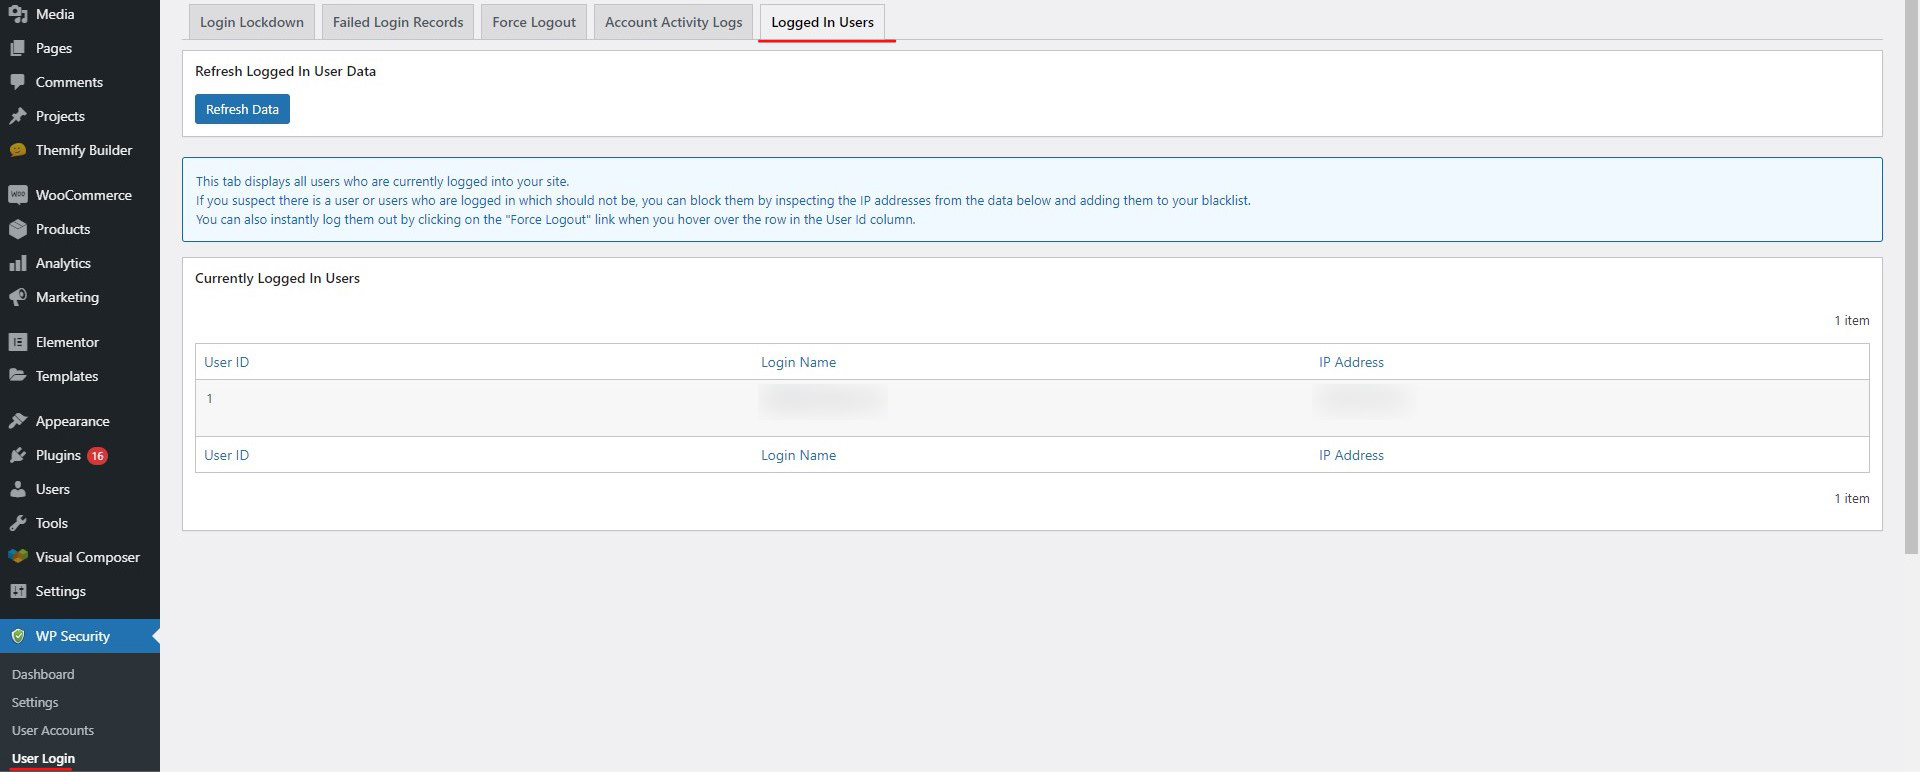
You can see which of the user in online. This is much needed if you want to get the best security.
In the same way, you can also use the IP address for the secret purpose. You can see if there are any locked IP addresses. If you have kept the login lockdown turned on, it will automatically ban all the IPs that exceed a certain limit.
If you want to know what are the IP addresses that were blocked, you can see them from here. You can also remove it from here if the plugin has blocked your IP address also. There is also a different tab for the same. There is a tab called Locked IP Address. We will talk about it here instead of giving you a dedicated section for the same to set up All In One WP Security & Firewall.
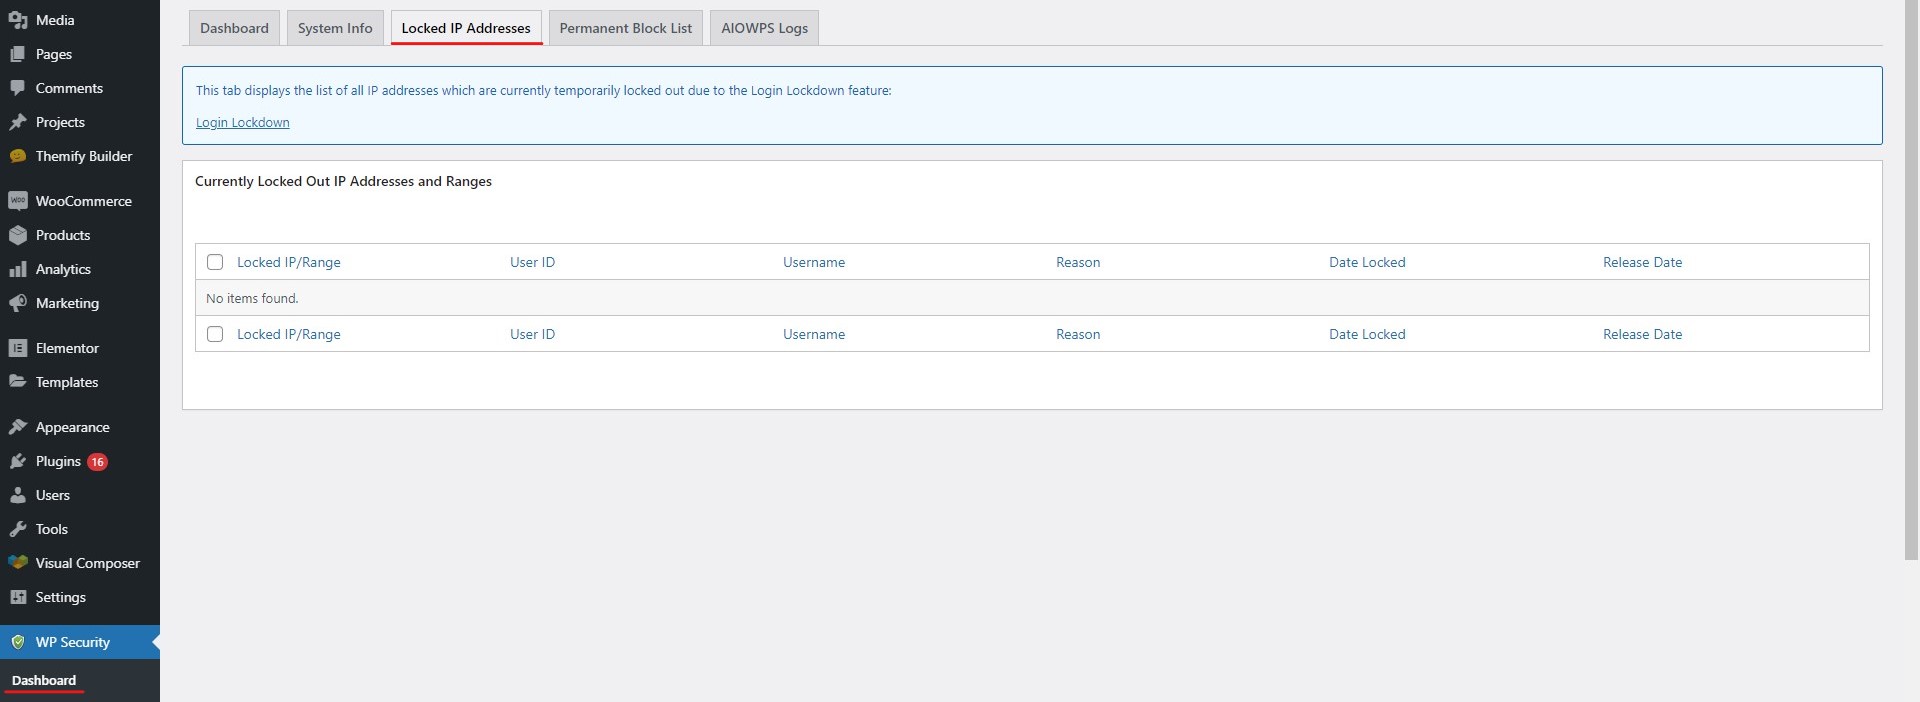
From this tab, you can surely see all the IP addresses. You can see all the things here where you can know if the IP address was a ban or not. You can also permanently ban the IP address from here if you want. This is why people use this tab for all purposes. You can surely check out this tab and know which are the IP address which might potentially be a danger for you.
Failed Logins
You can also see the failed logins here. The failed logins is a list of all the logins that are failed. This is a very helpful thing as you can use this data to know which are the possible passwords that people were using to do all the things. You can surely use them for your benefit. You can increase your security if some is trying to log in using an admin username.
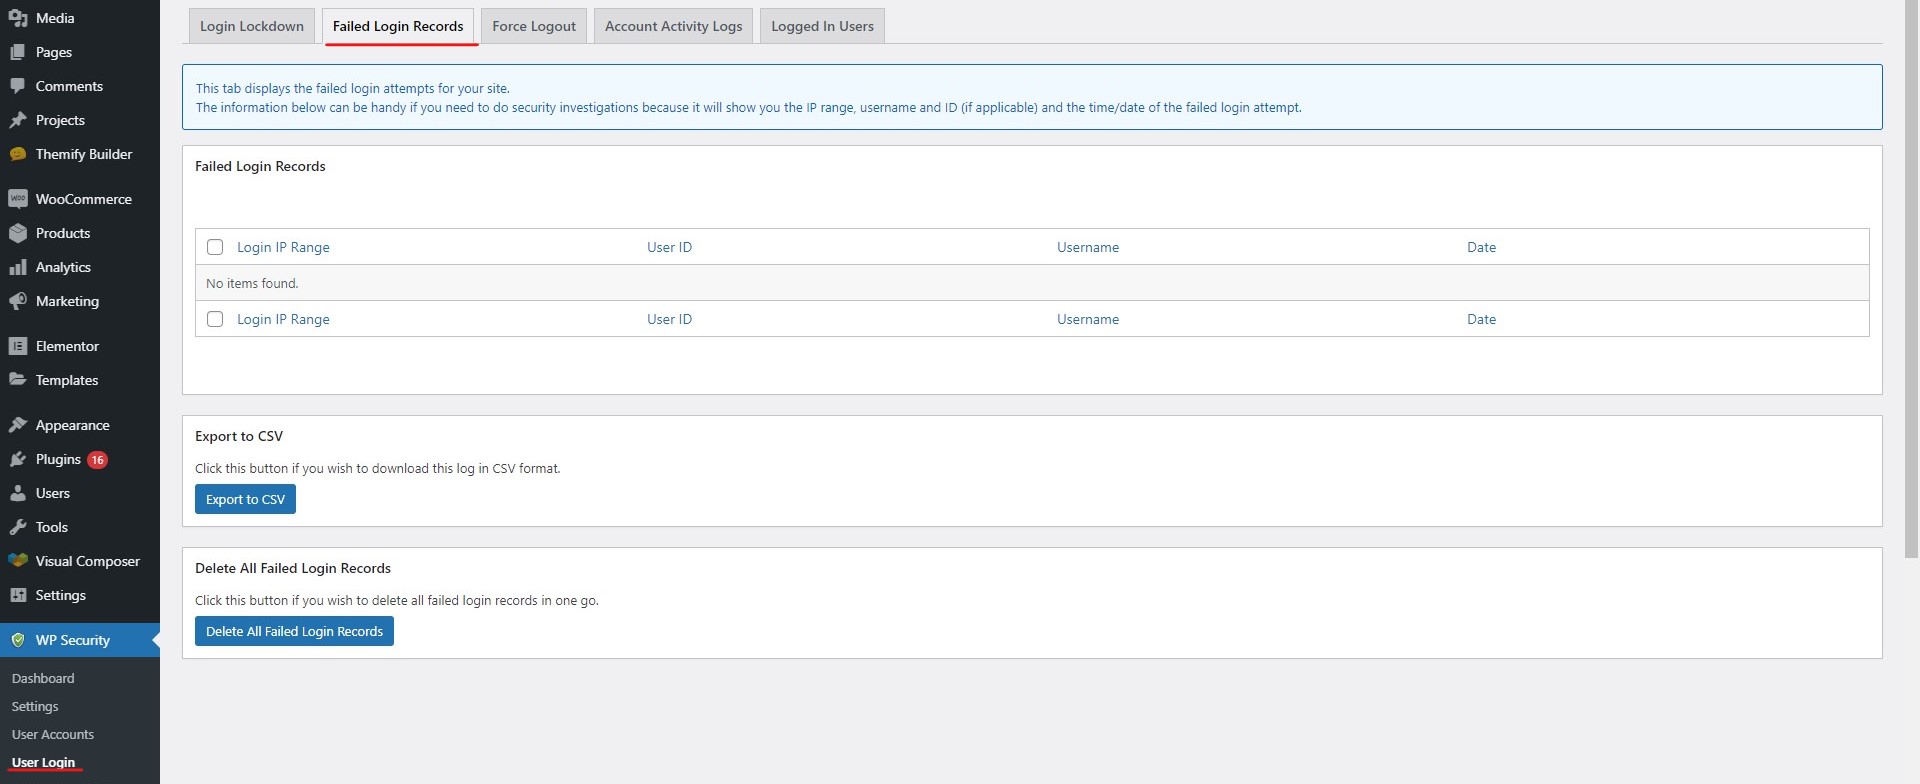
This is a very good feature that the security plugin provides. You can then change the username of the person if someone is trying to figure out their password. This will allow you to keep your website secure. Also, you can warn the admin about the username leakage.
In most cases, the failed logins will be based on the admin username. Therefore, make sure that you are not using the default username that is “Admin”. If you have changed your website’s name, you are again in trouble. Instead, you can add “team” or some similar words to prevent spam and increase security.
You will see all the IP addresses in the locked IP address section. If you want to permanently block them, you can do it too. The permanently blocked IP address will be stored in the next tab. You can go through all the tabs and know the details of the same. All the things are there in the tabs. All you need to do is find them and you will surely know the rest of the things.
Remember, the failed login section is directly in the dashboard tab. So, don’t try to find a different tab for the same.
Info and Logs
There are two more tabs that you can check. You can check for the system info where all the information regarding your server will be displayed. The next thing that you need to see is the AIOWPS logs. The AIOWPS logs are all the logs that the security plugin will add. AIOWPS is just the short form of the plugin. So, don’t think more about it. Feel free to check the logs.
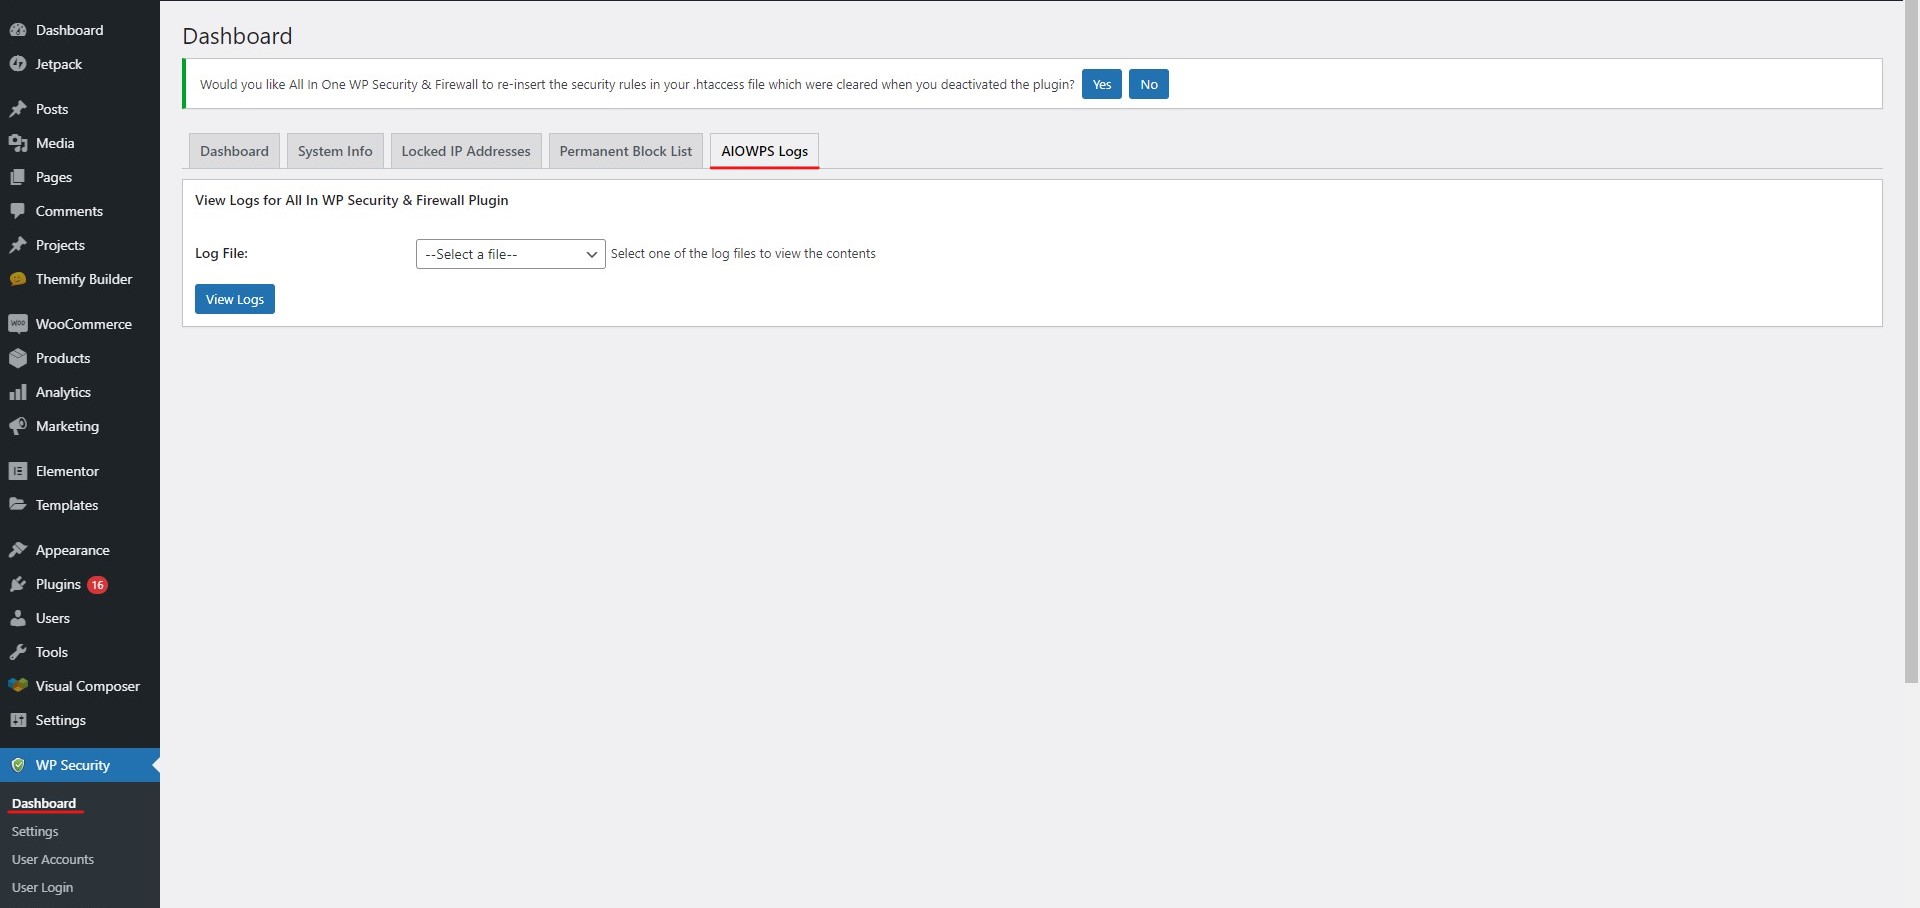
You don’t need to make any changes to any of these tabs. Instead, this is for the information only. If you want to know more about the server or you want to know something that the plugin has done, you can check these two tabs.
Settings
Settings are where you can set the global settings of the plugin. There are various options/tabs here that are very much useful.
You can set the security for the .htaccess file which is extremely important. You can also turn on the backups wherever possible. This will help you to run the website efficiently.
There are many more settings that you can do here. You can increase the security for the username or you can also check for the wp-config security here.
In the same way, you will find many settings or options that you can set. Therefore, you can surely go through the settings option once and see what are the possible things that you can do. Once you do all the things, you can then sit back and relax.
There is a firewall tab where you will see all the things. You can see the basic rule that the plugin has already set for you. If you are a technical person and want to make any changes here, you can do that here. with that being said, you can then carry on to do the rest of the things.
Final Words about All In One WP Security & Firewall
To conclude, this was all about how you can set up an All-In-One WP security plugin with ease. We have seen most of the things that you need to keep in mind. You can still explore the plugin to see what are the extra features. In this way, you can use the plugin in the best possible way and get the most out of the plugin. Make sure you monitor the plugin and have a look at the dashboard after once a while as monitoring is the main thing you need to do when it comes to the security of the website.


