

Wordfence is one of the best plugins you can go with if you want to improve your WordPress website’s security. You can surely rely on the plugin. The free version works great but if you want better features, there is also a premium version that you can go with.
We will see all the things you should know about Wordfence and we will see how you can set up the plugin. Whether it’s a free version or paid, you will know how to set it up. So, stay tuned and you will come to know all the things about the plugin.
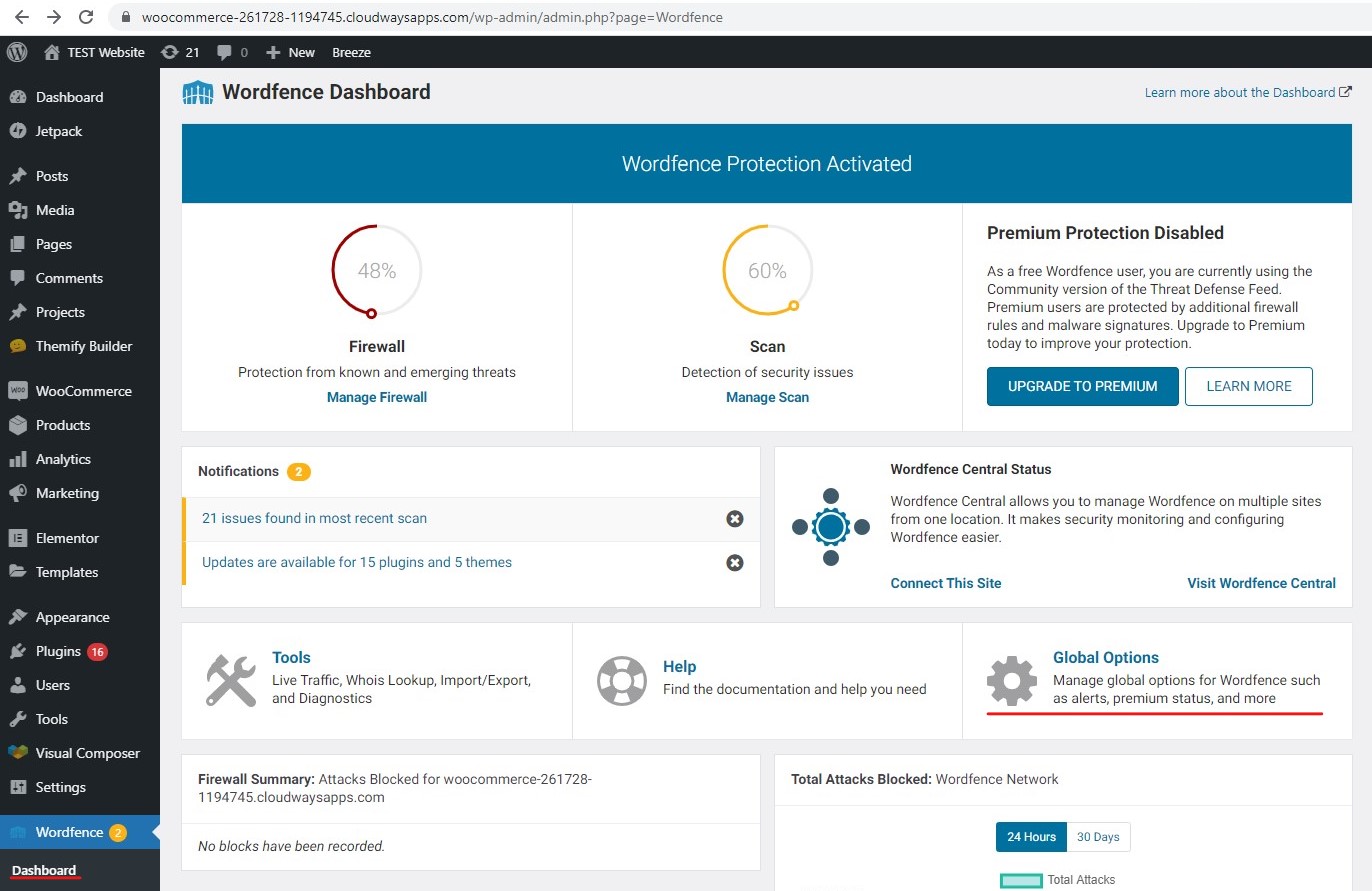
Wordfence Overview for WordPress
![]()
We will begin with the basic overview of the plugin. The plugin provides server-side security. It will scan the website using your website’s resources. There is a 30-day delay in virus definition if you are using the free version. The pro version will update the virus definitions whenever you run a scan. So, it will be more useful.
It comes with a complete firewall. The firewall will set up some of the rules which it will follow. The rules are to ensure that your website is secure and safe. Therefore, you can surely keep the firewall on.
There are many more features here which include scanning. The scanning process will include scanning at all places. With this, the plugin will remove all the malicious code from the server. The good thing is that you can also run the scheduled scan. If you don’t want to run the scan every single time on your own. You can use the scheduled scan option.
With this feature, it will automatically scan the complete website and list out all the viruses or malware that you might have. There is nothing but the malicious code that needs to be removed. The code will either insert ads or it will simply keep your website open for attackers. Some of the code lines might also have a backdoor using which the attacker might enter your website. Therefore, you will need to remove it.
Now, with that being said, we will carry on to the actual setup. We will start with the most basic thing and then we will head over to the advanced things. Don’t worry, we will cover every single thing you should know about the plugin. This will give you an exact idea of how to set up Wordfence.
Installing the Plugin
The most basic step that you will have to do if you want to set up Wordfence is to install the plugin, right? We will see how you can install the plugin here. Once you install the plugin, you can do all the things from there.
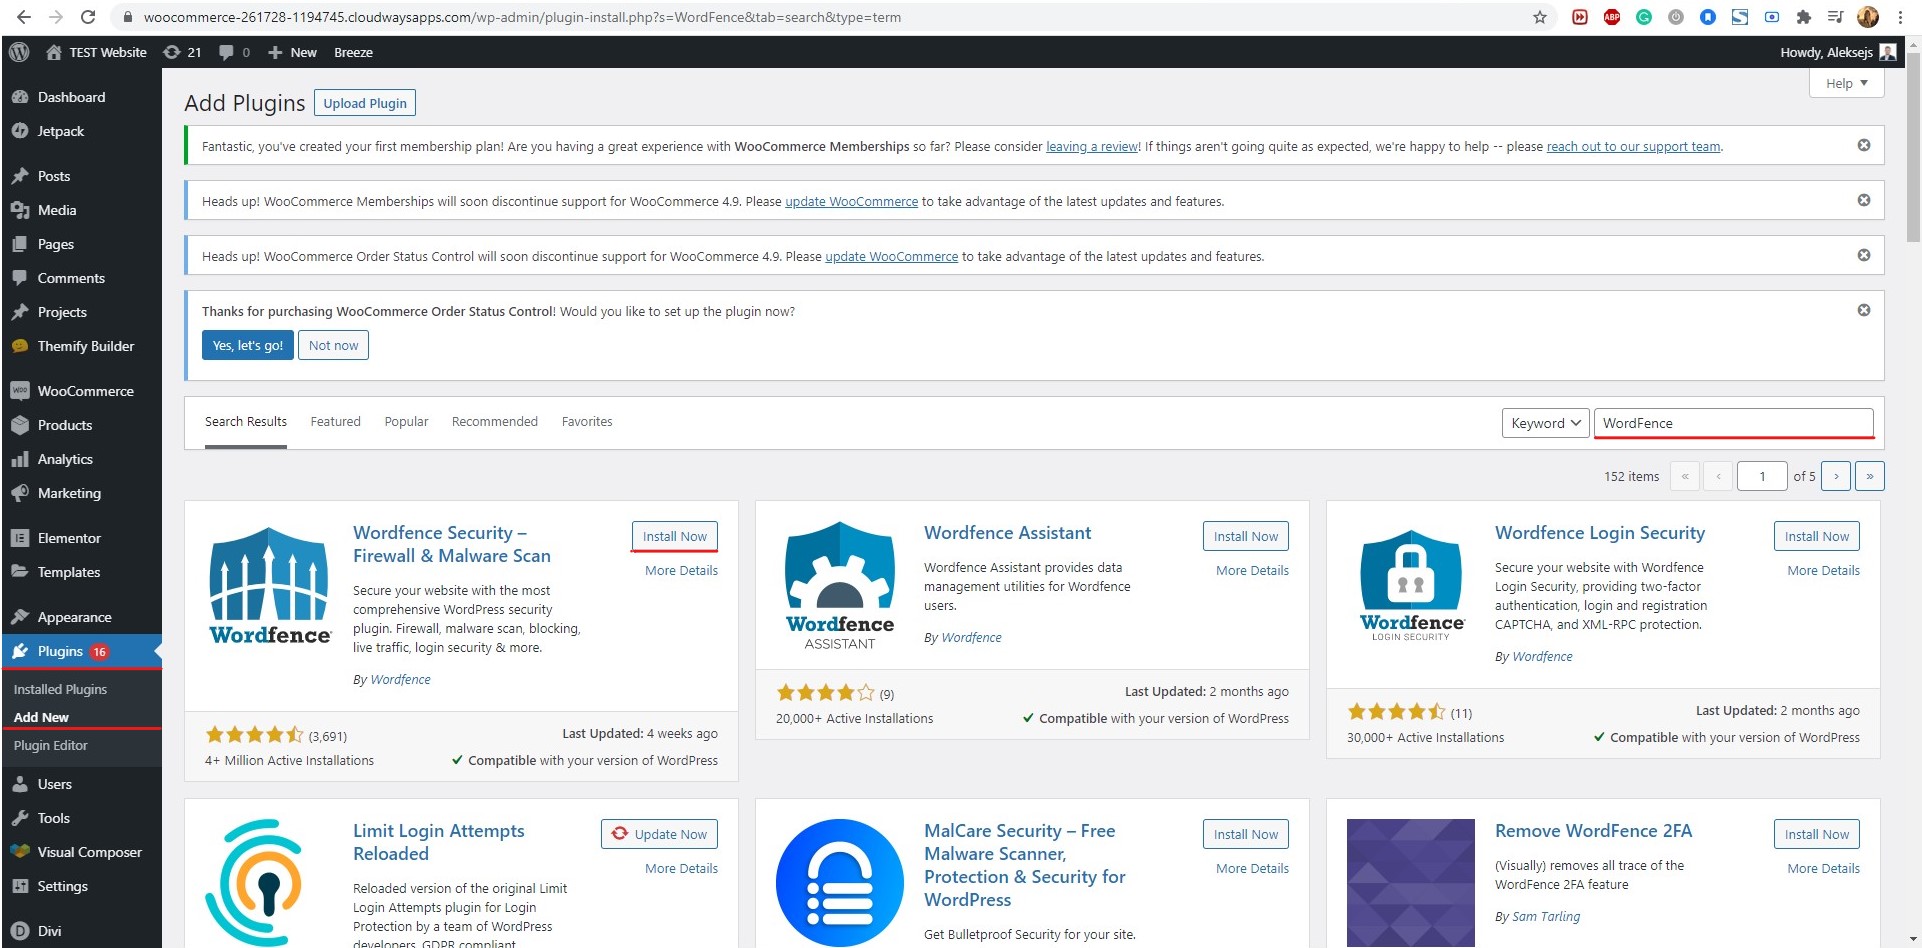
Instead of directly installing the premium plugin, we will start with how you can install the free version. The free version of the plugin is available in the official WordPress directory. You can open it directly from there.
Inside your WordPress dashboard, you will have to open the plugin menu. Hit the “Add plugin” option and it will open the directory. You will see the popular plugins directly there and you can also search for the plugins.
You can simply look for Wordfence for your WordPress website. It will show you the free version. You can hit the install button and it will start to install the plugin.
If you already have the zip file, you can click on the upload plugin on the top and upload the zip.
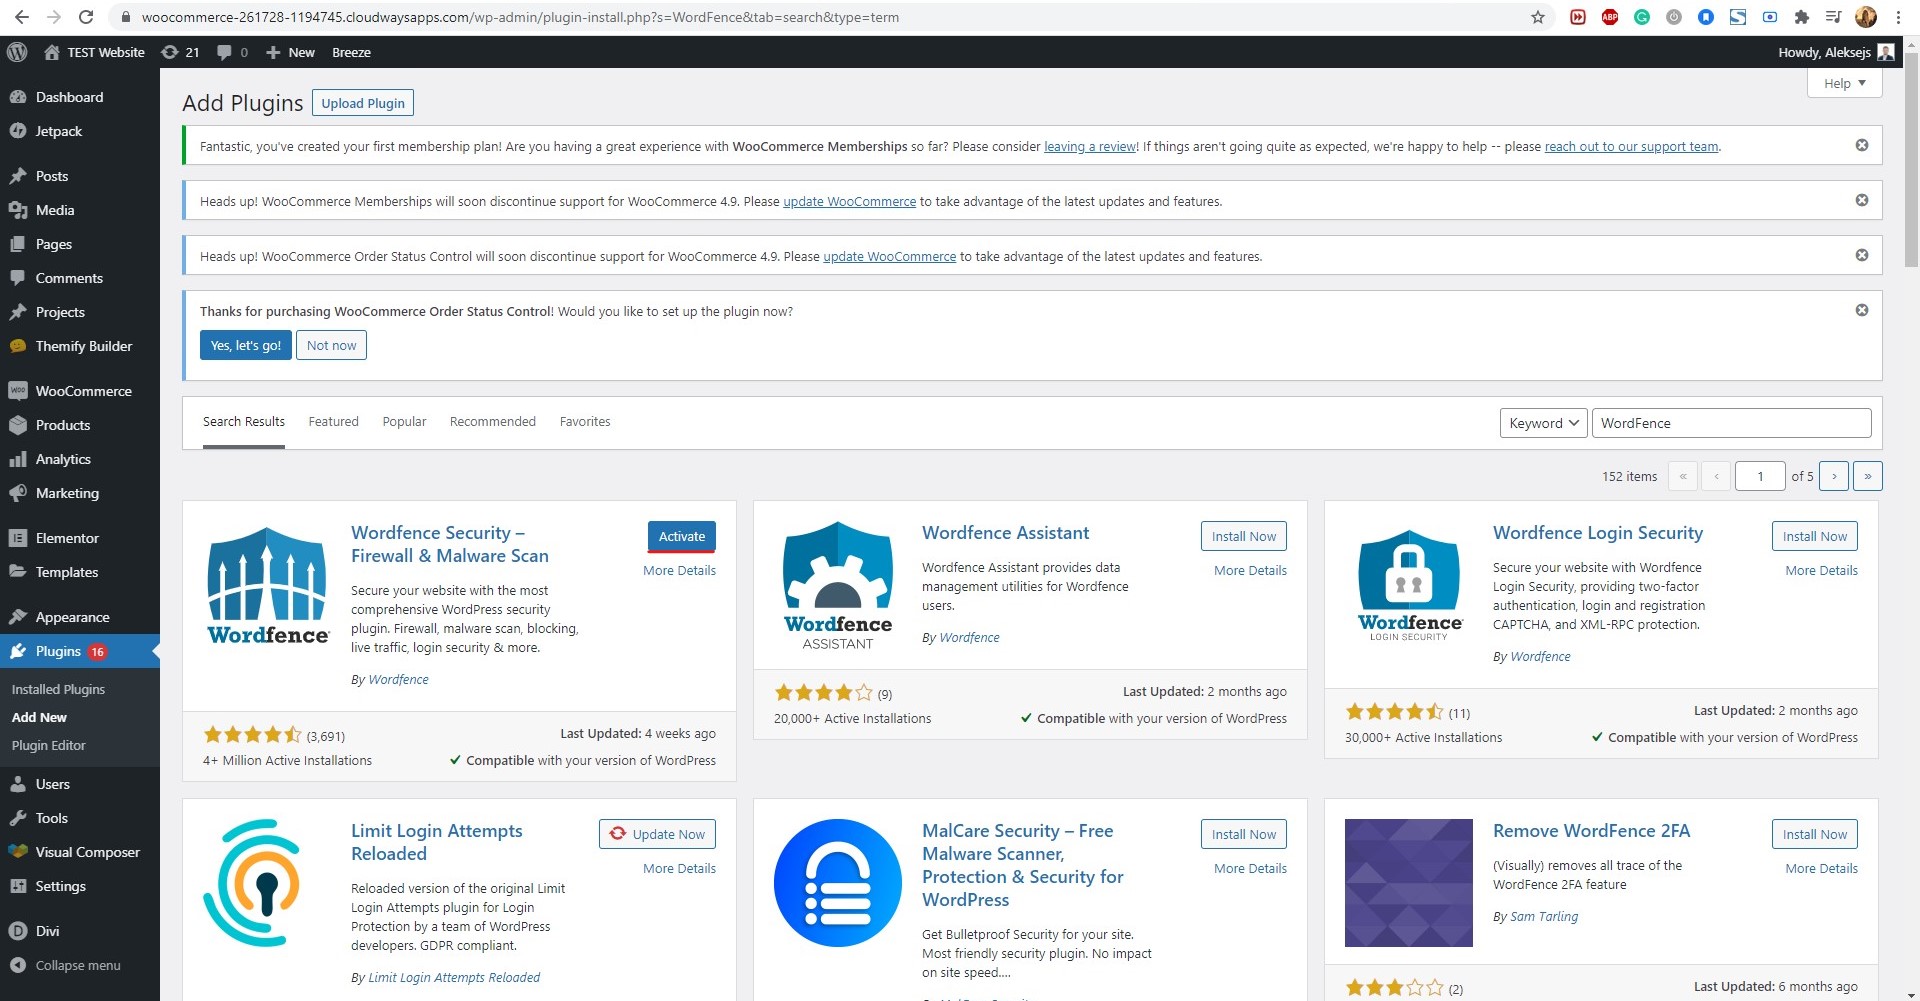
Once you do that, you will have to activate the plugin. You can simply hit the activate button and it will activate the plugin. This is how you can easily activate the plugin.
You have now added the free version of the plugin. You will see the menu of Wordfence in the dashboard.
If you want to update to the premium version, you can hit the upgrade button from the Wordfence menu in WordPress. It will open the official website of Wordfence. You can pay for the premium version and authorize the plugin.
It’s surely your choice on which version you want to use. We suggest you use the free version for a while to see if it suits your requirement.
We will first know the basics of the plugin. This is the place where you will get the basic information about the plugin and how it works.
Dashboard
In the dashboard panel, you will get information about every single feature out there. You can see the quick analysis of your website security. Further, you will come to know about various other things where you can find out the total items scanned and the things that need your attention.
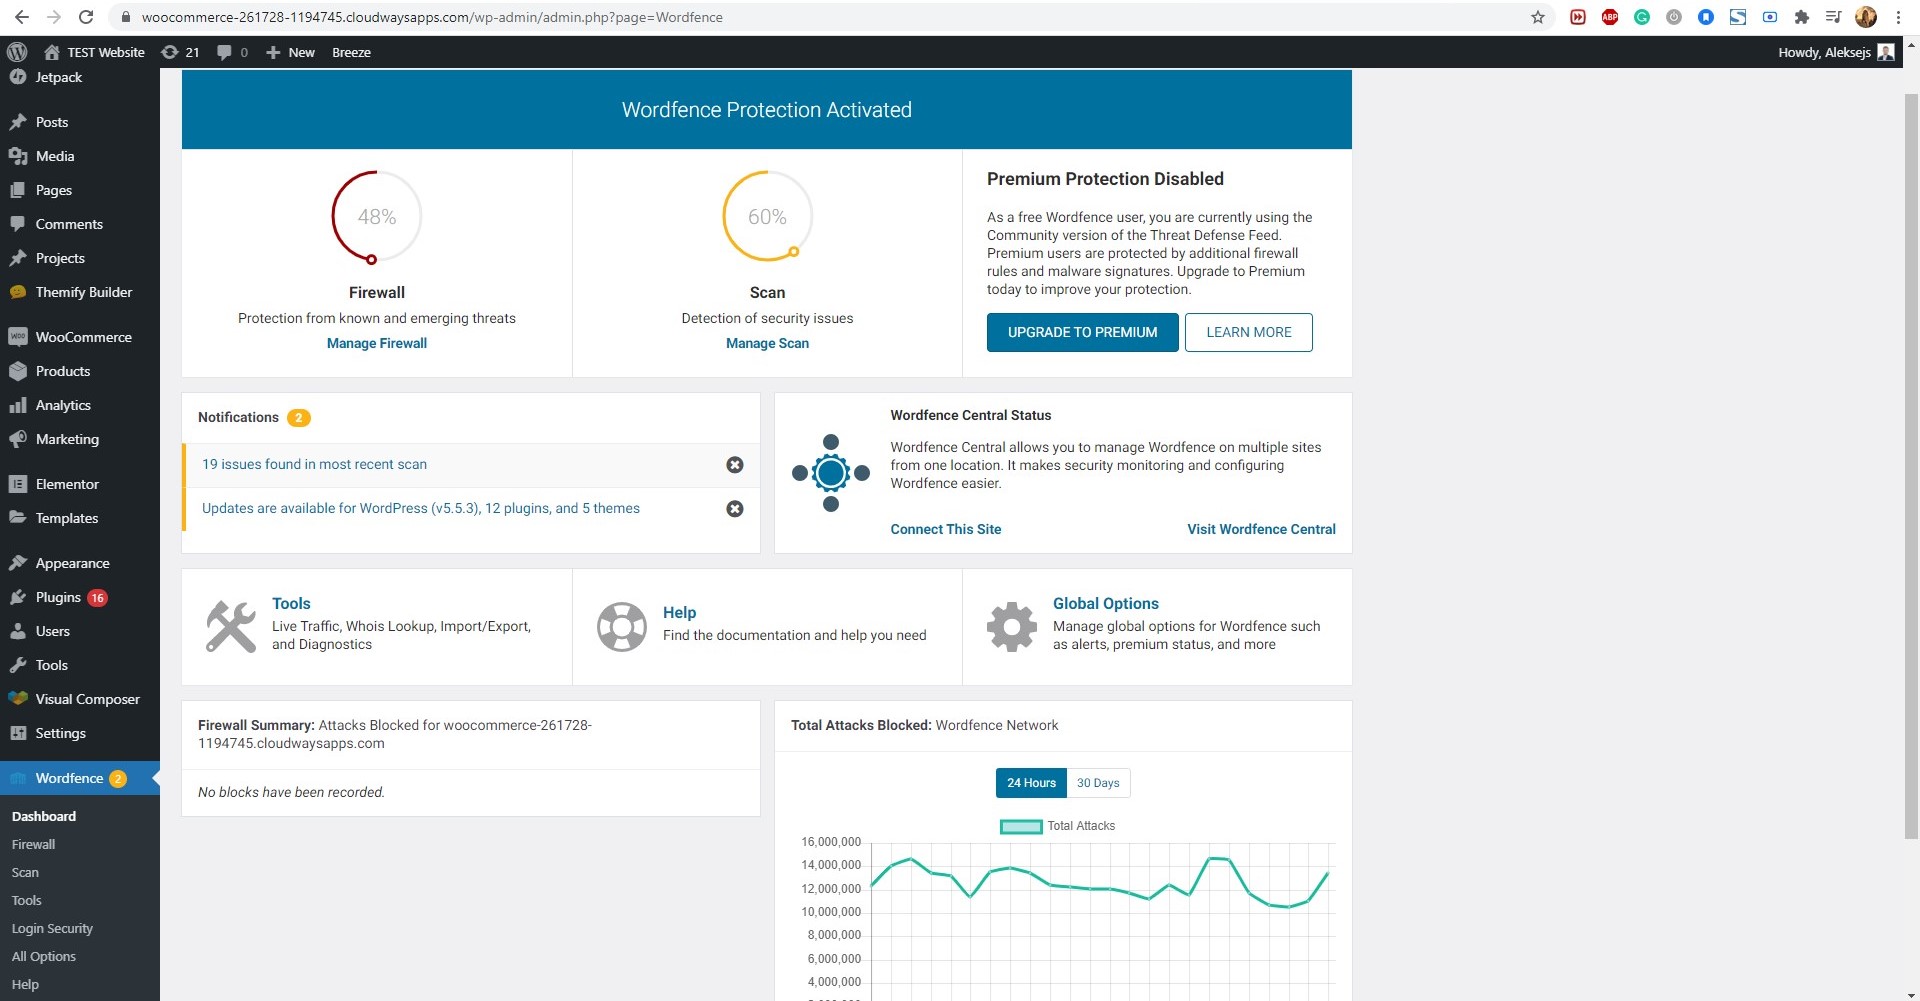
If any of the things need your attention, it will simply tell you to pay your attention there. A warning sign is shown right below the checklist. In this way, you will easily come to know if any of these things need your attention.
You can simply run the Wordfence scan and find out about all the things about your WordPress website.
Running a Scan
In the dashboard, you will see an option of the scan. When you click on it you will be moved further to a page from which you can run the scan. The scan will start checking the entire website and files for viruses and vulnerabilities. You will get a hit list of the files that need to be fixed.

You can easily run the scan by clicking on the “Start new scan” option. Therefore, you can run the scan and you will come to know about all the things.
There is another option which is very much useful. You can also schedule a scan to run automatically. With this, you can set the time when you want to run the scan. For example, if you have the least number of visitors at 2 AM, you can run the scan at 2 AM. In this way, your user won’t face any issues.
By this, you might have got the idea that the entire plugin will run directly on your website. In simpler words, it will use your website’s resources to ensure that you are secure and safe. It’s not cloud-based security. Therefore, you can use this when there is the least number of visitors on your website. In this way, you can ensure that the usage of resources is limited and your customers are not facing any issues while surfing your website.
You can run the scan regularly. You can either do it manually or you can do it with the schedule. Either way, make sure that you are running the scan regularly.
If you are using the free version, you won’t get real-time updates of virus definitions. Instead, you will get it after 30 days. Therefore, you will have to wait.
Firewall
The next great feature is the firewall. A firewall is simply stopping more than half of the attacks that might happen on the website. There is much software which attackers are using to find vulnerabilities. A firewall can easily stop them.
To enable a firewall for WordPress, you will have to head over to Wordfence > Firewall. You can easily enable it from there.
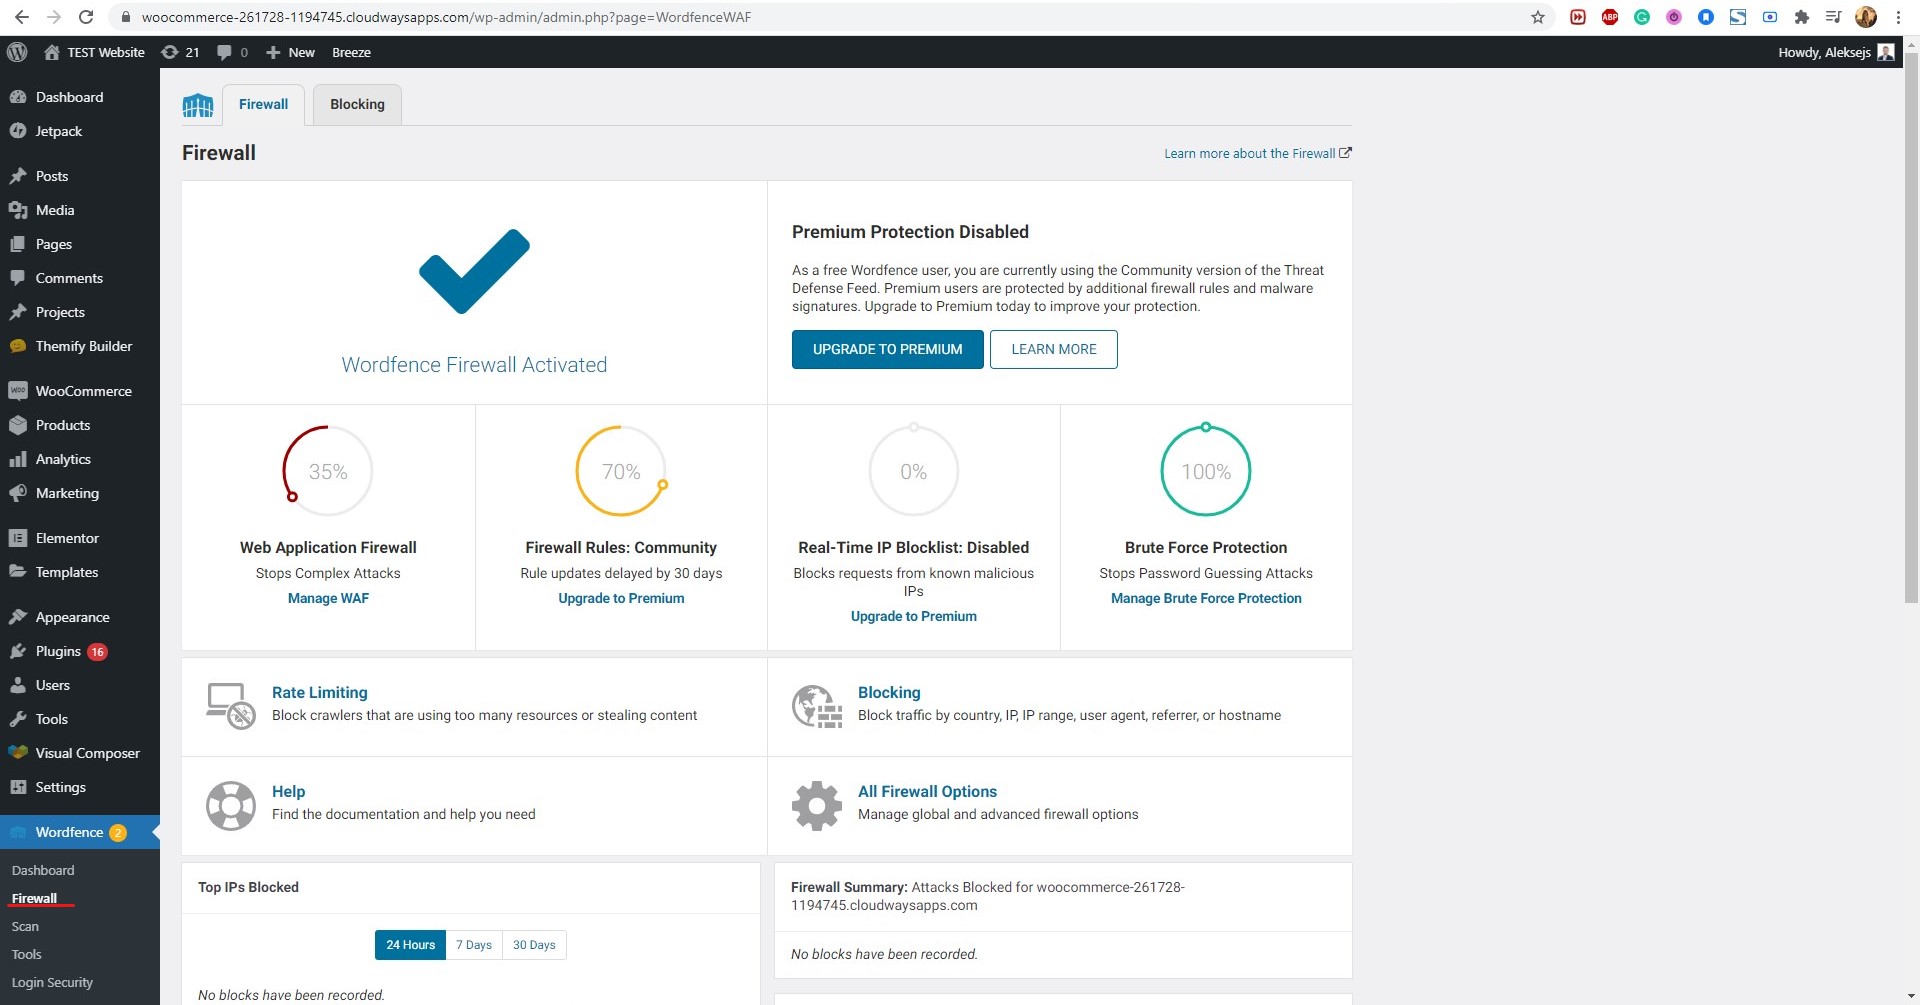
You will see the “Manage firewall” option that allows you to manage your firewall. If you are using the free version, you will also see the option to update your firewall. You can upgrade to the premium version if you want.
The managed firewall has all the firewall settings that you can configure. For most cases, the default options are enough. So, you can leave them as it is after you enable it.
There is an optimized option that you can surely check. It will optimize your firewall and give you better updates. As a result, you can surely try this out. This will allow the firewall to increase its potential and keep away the predators.
In the end, you will have to ensure that the firewall is turned on. If everything is as per the given settings, you can surely carry on to the next thing.
Spam check
There are many scans you can do. We already saw how you can perform a complete vulnerability scan and look for all the security issues. Now, we will see more about the same where we are going to see how you can check for spam.
Spam is pretty common when you are using WordPress. If the website receives a lot of spam, it will lead to vulnerabilities and Google might even blacklist your website.
Therefore, it’s always better to run the scan and make sure that you are staying updated here. You will need a premium version if you want to perform a spam check. Therefore, you can surely upgrade to the premium version if you want to stay protected. It’s good for all as you will get many more features.
Blacklist
One of the coolest features you will get here is blacklisting. You can always blacklist any IP you want. There are blocking options. Right beside the firewall tab, you will see the blocking tab. The blocking tab will allow you to automatically black the IP addresses that might be a threat to your website. Therefore, you can surely run the scan and do all these things. Running a scan is one of the important features that you will have to do. When you run the scan, you will get better security.

Global Settings – Wordfence for WordPress
You can surely do some of the global settings. The global settings will allow you to change some of the biggest things in the plugin.
You can always head over to the plugin and hit the settings button where you will find the global settings. When you go to the global settings, there are few options that you will have to apply. These are the important options. You can surely ignore the others if you want.
One of them is about scheduling. Like we have already mentioned before that you can schedule your Wordfence scan and run it at a specific time for WordPress. You need to schedule the scan if you are using Wordfence. This is one of the most important things you can do to increase the overall security of the website. Daily scans are great and you will surely benefit from this if you do it regularly and keep an eye on everything.
The next thing is the update. Many virus definitions are coming out every single day. The same goes for vulnerabilities. Not just the virus definition, Wordfence is also updated regularly. There is an awesome feature that allows you to update the plugin whenever there is a new version available.
You don’t need to do anything. You can easily set the out updates as on and it will automatically update the plugin whenever there is a new version. Therefore, you can surely set this.
Monitor the Security
Security is not a one-time thing. You can’t simply set up everything and forget about the rest of the things. It’s a constant process where you will have to monitor all the things. That’s the same reason why you will get the dashboard feature.
The dashboard allows you to keep an eye on the entire security of the website with ease. When you go to the dashboard, you will see a quick summary of every single thing that Wordfence does for you. You can see more details if you want. However, for most people seeing the basic summary will be enough.
We highly recommend you to check all these things daily. You should have a look at the dashboard at least once a week. If you are running a huge website, you can keep an eye on the dashboard every single day. This will increase the overall security of your website and your website will safe.
Final Words – Wordfence security for WordPress
To conclude, this was all about how you set up Wordfence security. People often get confused between the version. The free version is great if you are just getting started or if your website is small. However, if you are running a huge website, you might want to go with the premium version where you are getting better features.


